The first piston in
All the pistons went in without a hitch. I checked gaps and clearances. Everything seemed good. I rotated the crank after each piston and at each stage after this. Everything was smooth as silk.
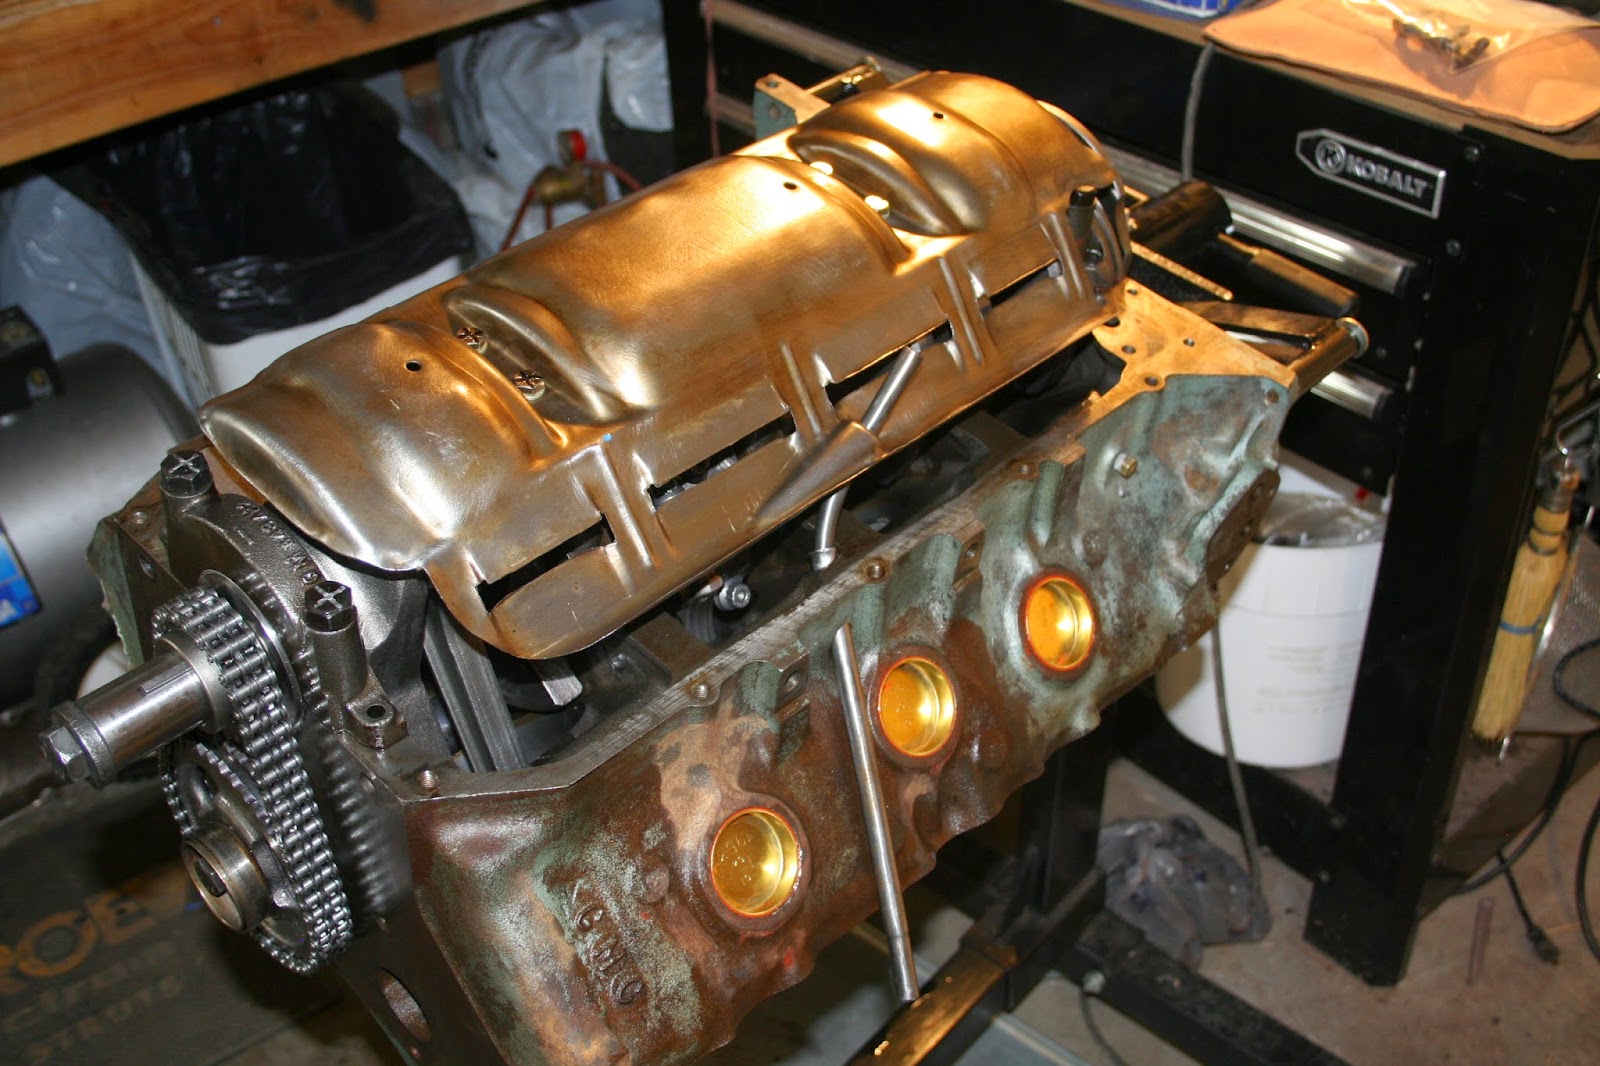
I turned the engine over and installed the windage tray. Pontiac installed these in the high performance engines for a few years. They reduce the foam in the oil so the oil pump can pump a solid flow of liquid. I didn't even have to rotate the crank to know I had a problem. The enlarged counter balances on the Stroker Crank were touching the tray as soon as I put it on. I fabricated some spacers that dropped the tray about 1/4" to give me the clearance I needed. Then, everything rotated fine.
I'm slightly OCD and worry about and triple check everything. I put the oil pump in a container of break-in oil and ran it just to make sure everything was operational. Oil pump installation was a little touchy trying to get the bolts, gasket and drive shaft all lined up and in place all at the same time...and I failed. After installation, as is my OCD tendancy, I rotated the crank and, CLUNK. It was stuck. A little investigation told me that the drive shaft for the pump had somehow slipped out and got away. The crank shaft had caught on it. The bad news is I had to redo it all. The good news is, I found it now instead of when the motor is in the car!
Not wanting to leave anything to chance, I did make one minor mod on the oil pump. After inserting the pickup tube into the pump assembly, I made a small tack weld to insure it stays there. It's not a pretty weld, but I was mostly concerned about burning through the pick up tube not making it pretty.
Then the timing chain cover went on. In a previous post, I showed how I had cleaned this in my wife's dishwasher after I had done all I could with solvent. That worked great and got all the grease out of the minute scratches. It came out looking new. Just sitting for a couple of months, the inside became discolored. Antifreeze is some nasty stuff.
I refurbished the old oil pan and reused it. It's not pretty, but on my car it won't be seen at least in the near future and I need to put my money where it will make a difference. So, I just beat the dents out of this one, made sure it was flush and put it back on. I'm not impressed with Pontiac's oil pan gasket design. That 4 piece gasket gives a lot of opportunities for leaks.
Before permanently affixing the heads, I put some modeling clay on a couple of piston heads then, put on the head gasket, lightly secured the head with old bolts, and rotated the crank. As you can see in this after photo, I have plenty of valve clearance. The valves didn't even put a mark in the clay.
After checking the valve clearance and cleaning everything up, I installed the heads with ARP head studs. My mechanic son was questioning why some studs didn't seem to be in all the way. I had the same question when I installed them and it's the way the engine was bored and tapped I guess because the holes weren't all a uniform depth. Yes, there were some studs that were longer than others and I got them all in the correct placement or they wouldn't have fit at all. I'm not too worried about it because none of them were seated shallow or anything like that.
Finally! A new high flow water pump with new internal dividers because the old ones were rusted through. Everything's masked ready to start cleaning, prepping and painting.
It doesn't even look like the same engine.


No comments:
Post a Comment